In this article I will explain how to change the logo in the Divi theme header area.
This article is part of the Getting Started with Divi theme series. If you are starting out with the Divi theme then I will recommend that you check the Getting Started with Divi page.
It answers some of the most frequently asked questions by new users. You might find it helpful if you are starting out.
Now lets get started.
Change the Logo in Divi Header
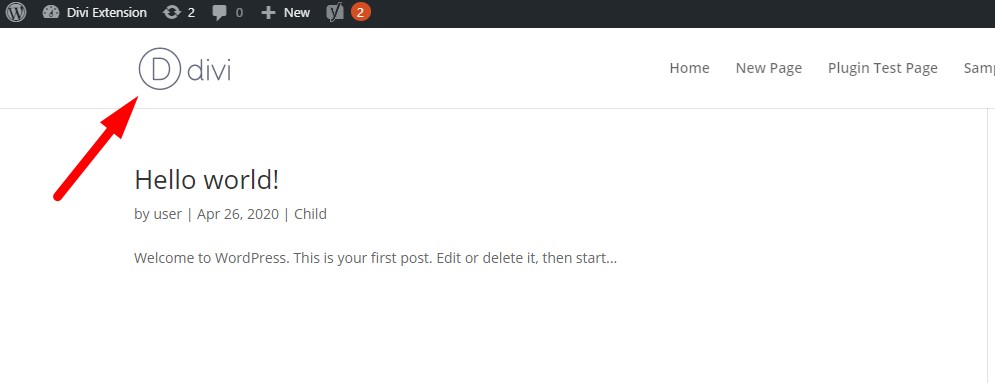
When you first install the Divi theme. The Divi logo is present in the default header of the website.
You will see this logo on the top of all the pages on your website.

Changing this logo is very easy through the Divi Theme Options
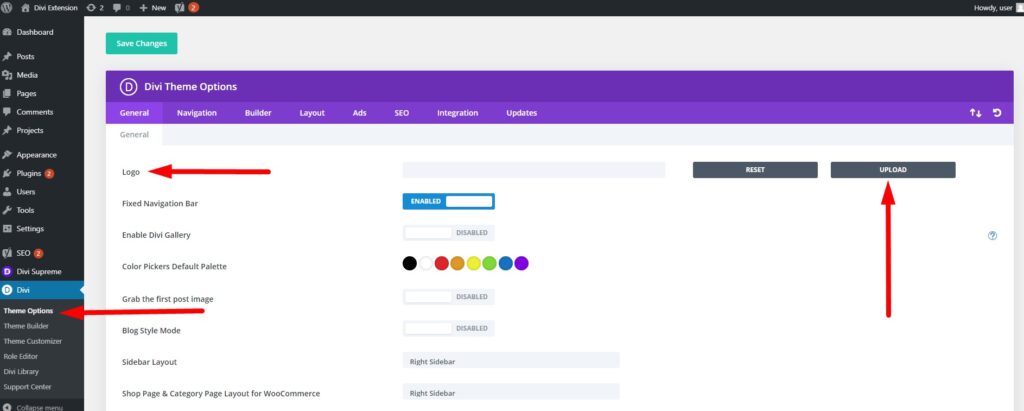
To change the logo in the Divi header. You have to go your WordPress Dashboard > Theme Options > General.
The first option on the top is the Logo setting. You can press the Upload button to upload a new logo or choose one from the Media Library. Or add a url to your logo image manually in the text box.

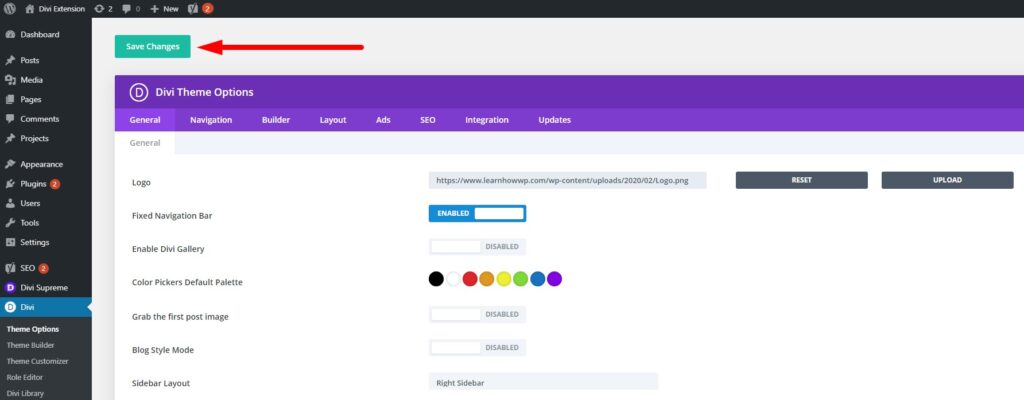
After you select the logo press the Save Changes button at the top of the page to update the Divi Theme Options.

After the Divi Theme Options are update with the new logo image. You will start seeing your new logo in the header on all the pages of your website.

Don’t forget to subscribe to the Newsletter to receive the latest tutorials in your inbox. Leave a comment below if you found this helpful or have any questions related to this tutorial.
Here are some other Divi tutorials that you might want to read next.
0 Comments